Can a UFO be called a squirrel?
This little block is called the Hatchet block but
I have always called it Weave, since the strings
seem to weave in and out of each other.
It was one of my go to blocks as a beginning,
timid quilter. I would do it at retreats as it
was nice to do while visiting. I must add
that there is nothing more encouraging than
when others quilters want to use a
design you've chosen.
It seems even as a beginner I didn't stick
with instructions. I started by making a
template and cutting the center of the block
out of a set of foundation pieced strings.
Soon, I left the foundation piecing and made scrap string sets and cut the template shape.
When my retreat-mates asked for the pattern,
I gave them one of the newsprint foundations
and they could make their blocks!
One even used it as a guild friendship block!
My project box still has enough to
start another top!
I first found this in Relax and Quilt , a Leisure
arts publication. Such a favorite book, I had
the covers laminated and got it coil bound at
an office supply store!
This top was caught up in the last crazy layering
day and when the need came up, it was ready to quilt!
On that snowy Tuesday, I was able to layer two
queen sized quilts, one crib sized and the
twin sized weave quilt. I even managed to
puzzle together 2 crib sized batts!
I think I have used up my super powers!
One lovely blogger mentioned how
difficult it is at times to stitch
right in the ditch. I stitched
beside the ditch by resetting my needle position.
I got out my ditch foot, reset the needle position and
got most of the quilting done in one afternoon.
I left the corner swoop to do on the center squares until the end.
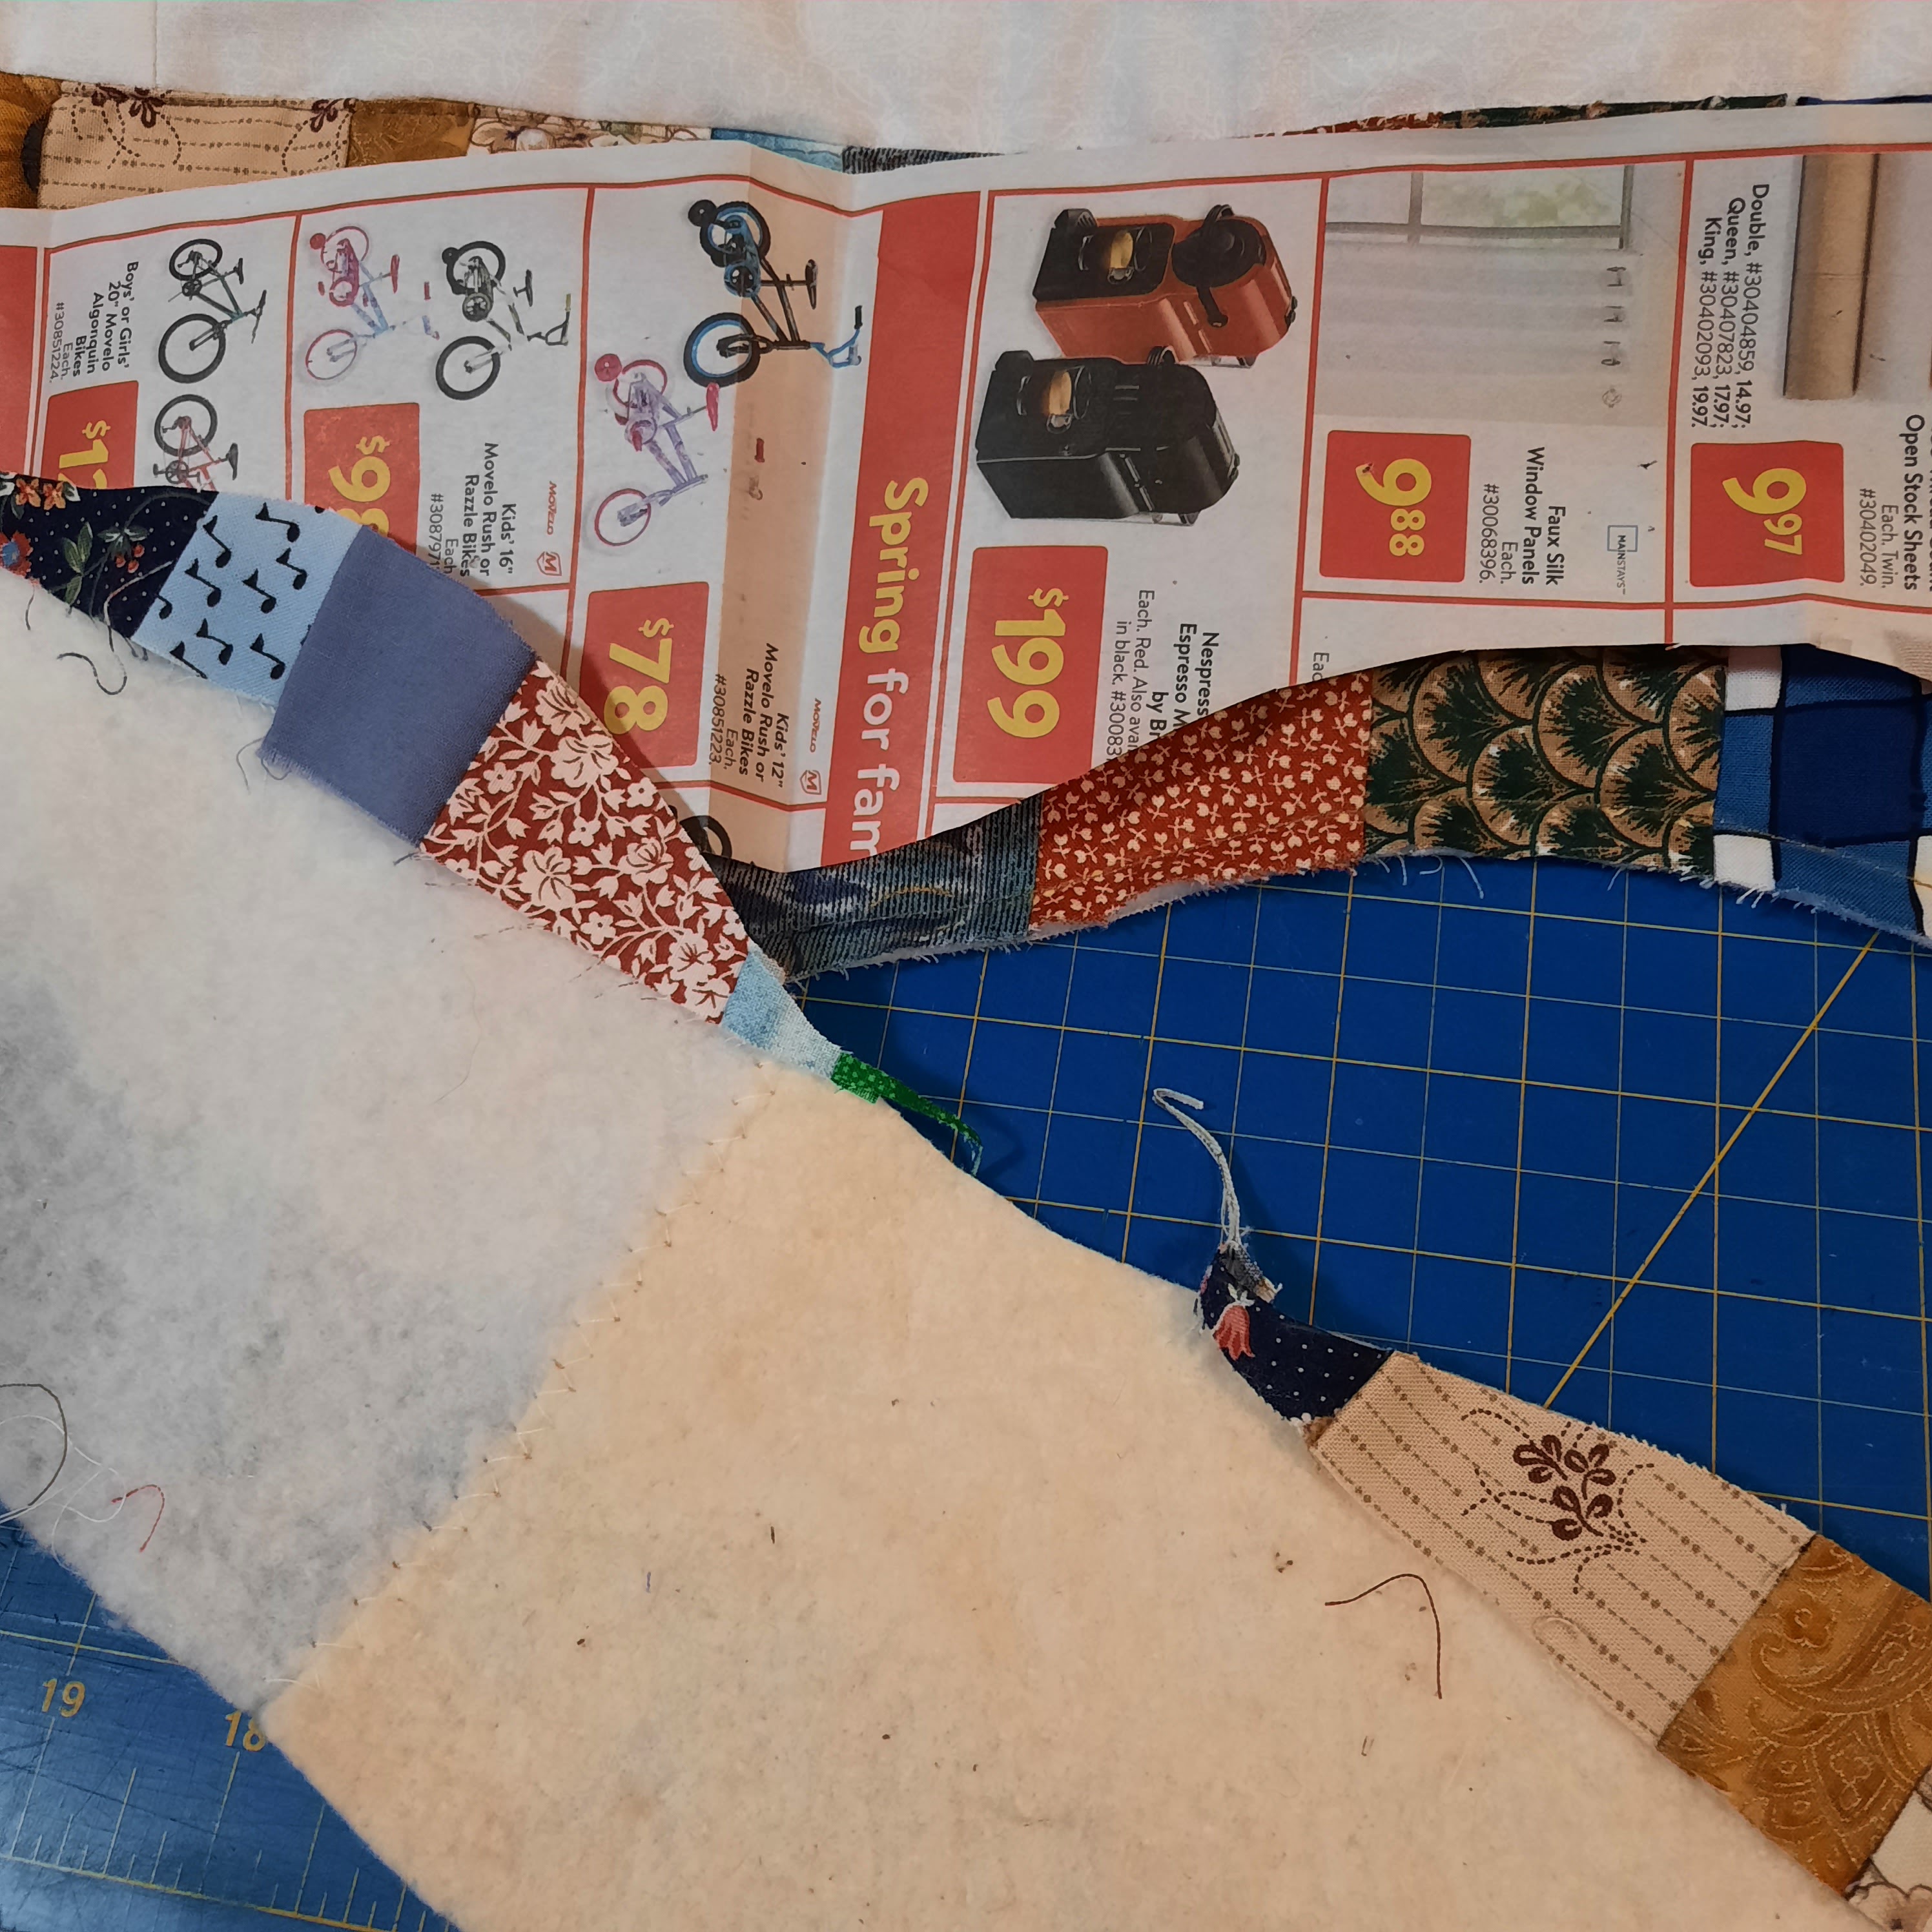
The most rewarding part of this quilt and
the most stressful was cutting the wavy border edge.
The first time I made this quilt,
my inner fortitude failed me and I left the border complete.
This time, I used the template to mark
and stitch the wave and secure the edges of
piano key border. Then I cut, ta da!
I think it is pretty adorable!
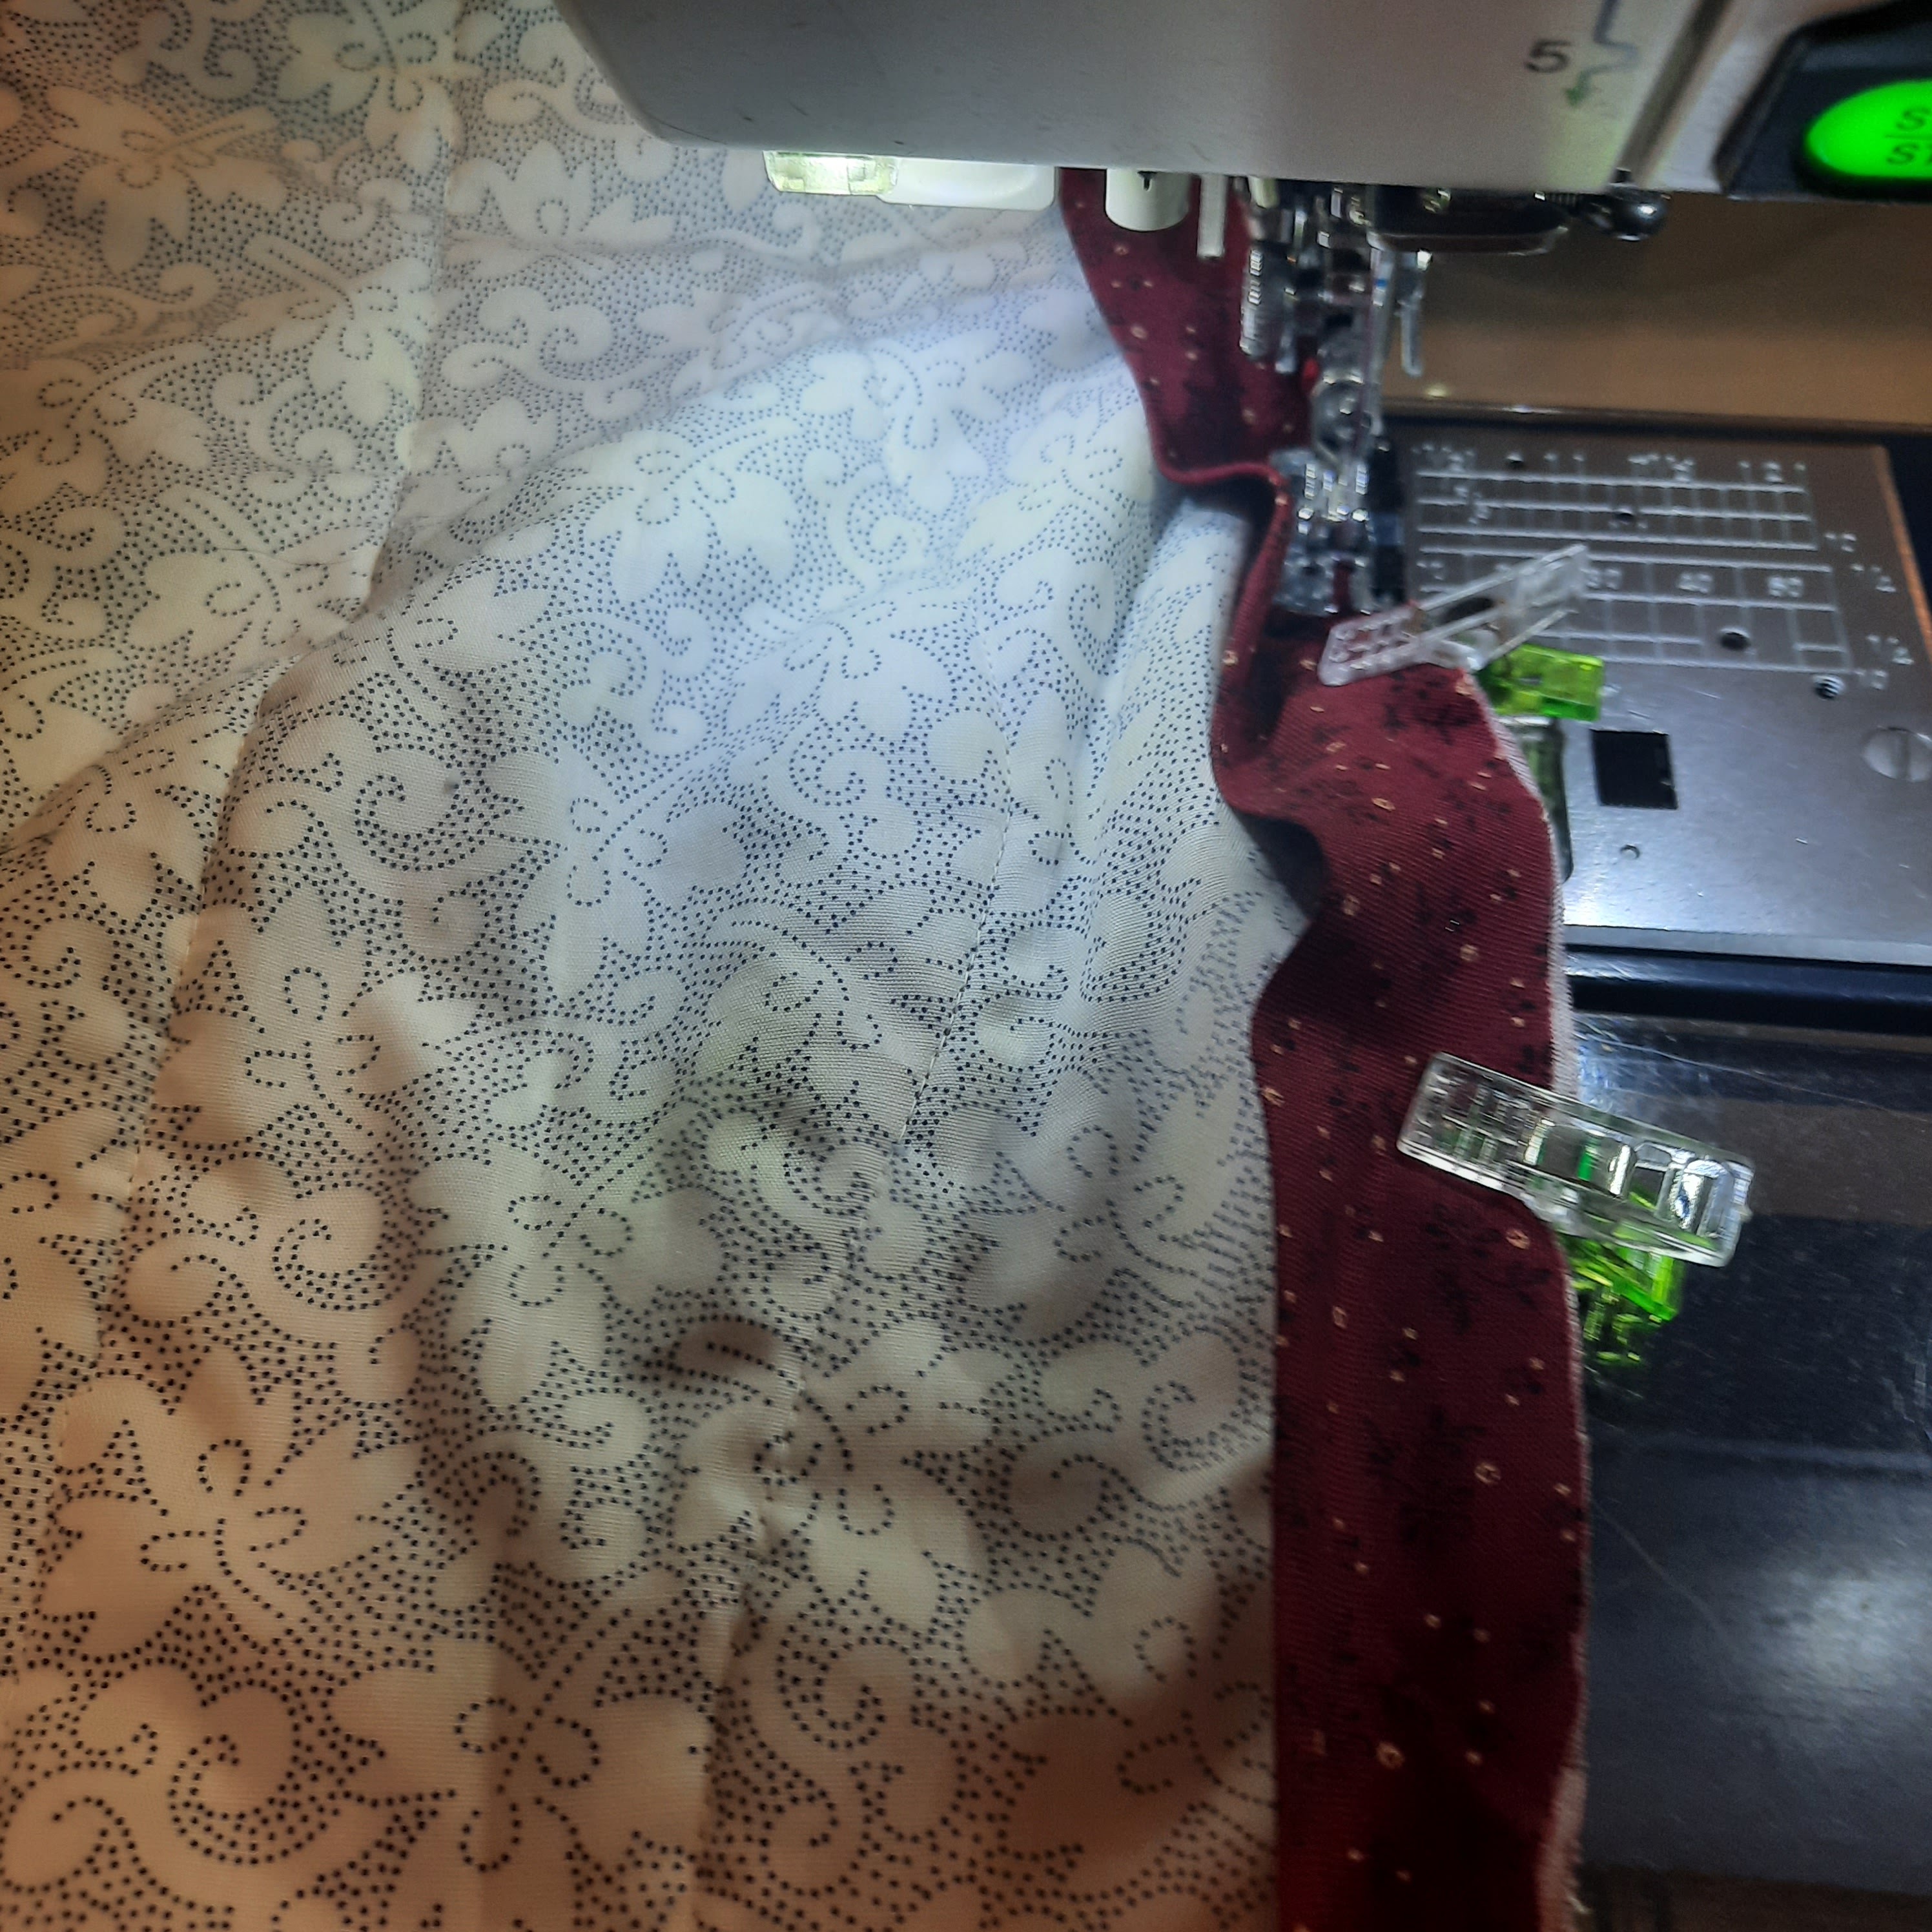
Of course these curvy edges will
need some bias binding so that is up next .
Two big triangles later and
this lovely pile of burgundy speckled binding appeared!
Applying the binding was not too bad even with
the bias and the curves. I used lots of clips.
It looks pretty good!! The white squares were a quick quilt.
I used a lock stitch and the cutting feature
so I made sure to snip each little eyelash
thread on the back as I went.
The binding looks great and the curves are so interesting.
It is a very rewarding feeling to complete a project isn't it!
Now this little top is ready to be gifted.
This quilt finished up at 56" x 72".
The delicate blue print on the back is charming too!
Stay safe and sew on !
Linking up to: